

This is the continuation of Magento 2 CE Installation On A Bare Ubuntu Server - Part 1.
Install Git and Composer.
We need Git to clone Magento 2’s source code from the repo. Composer is needed to upgrade and update Magento’s library. Get Git first,
   sudo apt-get update
   sudo apt-get install curl php5-cli git
Download and Install Composer. Code is one line in the terminal.
curl -sS https://getcomposer.org/installer | sudo php -- --install-dir=/usr/local/bin --filename=composer
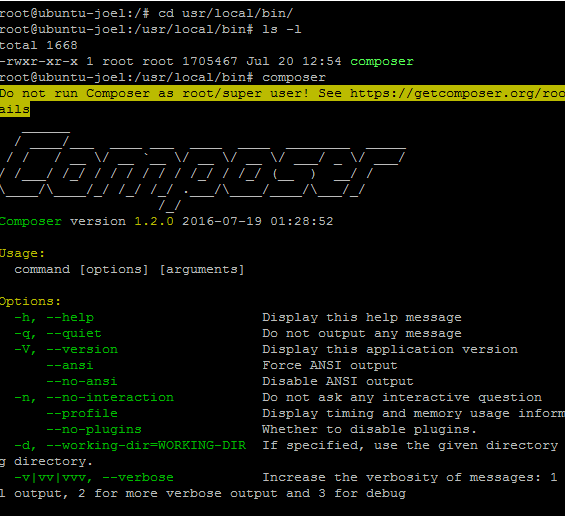
To test installation, run
composer
You should see this on your terminal,
Get authentication key to use Composer on Magento repo.
We need to generate an auth key-pair to use Composer on Magento repo. See here for the latest instructions. Once you have you’re auth key generated from the Magento site, create an auth.json file inside .composer folder.
nano /root/.composer/auth.json
Copy and paste the contents below into the file. Make sure to replace the keys accordingly with your generated auth key.
    {
      "http-basic": {
            "repo.magento.com": {
               "username": "<your public key>",
               "password": "<your private key>"
            }
         }
    }
Configure Apache server to run Magento 2.
We need to configure Apache to properly redirect and rewrite the incoming traffic. Create a virtual host file for Apache using the following command. We need to create a new Apache config file.
nano /etc/apache2/sites-available/magento.conf
Inside this file, copy and paste our setup options into the nano interface.
<VirtualHost *:80>
    DocumentRoot /var/www/public
    <Directory /var/www/public/>
        Options Indexes FollowSymLinks MultiViews
        AllowOverride All
    </Directory>
</VirtualHost>
Save and close the new config file. Next, we have to tell Apache to use the new config file, and to ignore the default one. Execute the following commands below:
 sudo a2ensite magento.conf
 sudo a2dissite 000-default.conf
Then, reload Apache server.
sudo service apache2 reload
Clone Magento repo from Github.
Create a “public” folder and change directory to the public folder. We configured this folder from the previous step to be Apache server’s root.
 mkdir /var/www/public
 cd /var/www/public
Next run the command to pull from Magento’s Github repo.
git clone https://github.com/magento/magento2.git magento
Change directory into the created folder “magento”.
cd magento
Then run Composer install. This will read the composer.json file and pull all the dependencies from the repo.
composer install
Create a database.
Next is to create a database that will be used by the Magento web application. Let’s name it “magento”. Magento uses MySQL to store almost all the data associated with the site.
mysql -u root -p
Next, execute the command below to create the database.
CREATE DATABASE magento;
Change file permissions.
By default, “Admin” user is the owner of all magento files on our server and Apache web server runs on behalf of “www-data” user. It is important to execute this command to change file permisions.
   chown -R admin:www-data /var/www/public/magento
   find /var/www/public/magento -type f -print0 | xargs -r0 chmod 640
   find /var/www/public/magento -type d -print0 | xargs -r0 chmod 750
   chmod -R g+w /var/www/public/magento/{pub,var}
Also, since this is a web interface installation, I need to change the write permissions for app/etc and vendor/
chmod -R g+w /var/www/public/magento/{app/etc,vendor}
Finally, perform the web interface installation.
Open a browser and go to, http://{youserverip}/magento. This will load a web page asking for your confirmation to agree w/ Magento’s “terms & conditions”. Click agree and follow the rest of the guided installation wizard. On one of the steps, you’ll be asked to enter the database info so Magento can connect to the database you created on step 5.
Back to Part 1 ->