Building A Password Strength Component In React
I’m starting to learn React lately in preparation for an incoming project. I can tell you that I like working on it. In React, you write the parts of your web application in components. Components are encapsulated classes that takes an input data and returns what to display.
In order for me to learn efficiently, I decided to re-write the AngularJs version of the Password Strength Directive I wrote here before. This is the React version of it in ES6.
Here’s the demo in React or check-out source on Github.
In React, you write less html and you write more in javascript. Let’s write the html part of our Password Strength component inside index.html file.
<!DOCTYPE html>
<html>
    <head>
        <title>React</title>
        <script src="//cdnjs.cloudflare.com/ajax/libs/react/15.3.0/react.js"></script>
        <script src="//cdnjs.cloudflare.com/ajax/libs/react/15.3.0/react-dom.js"></script>
        <script src="//npmcdn.com/babel-core@5.8.38/browser.min.js"></script>
        <link rel="stylesheet" href="http://joecaps.com/blog/css/trio.css">
        <link rel="stylesheet" href="http://joecaps.com/blog/demo/css/password-strength-widget.css">
        <meta charset="UTF-8">
        <meta name="viewport" content="width=device-width, initial-scale=1.0">
        <script type="text/babel" src="components/PasswordStrength.js"></script>
    </head>
    <body>
        <div class="container">
            <div class="title">
              <h2>Demo - Password Strength Component In React</h2>
            </div>
            <!-- This is the element where our React component will mount. -->
            <div id="app"></div>
        </div>
    </body>
</html>
As you see that we have a javascript file with type text/babel inside components folder called PasswordStrength. This is to translate the JSX syntax to plain vanilla javascript.
Let’s start to build the bare structure of our Password Strength component inside PasswordStrength.js.
 //Password Strength - the parent component
 class PasswordStrength extends React.Component {
     render() {
        return (
            <div className="password-strength-widget">
                Content of the components here.
            </div>
        )
    }
 }

ReactDOM.render(
  <PasswordStrength/>,
  document.getElementById('app')
)
As you see that we have a class PasswordStrength that extends React.Component. Inside the class is a render function which returns the JSX code of the component. Next is we call the ReactDOM.render function to mount the component on the page.
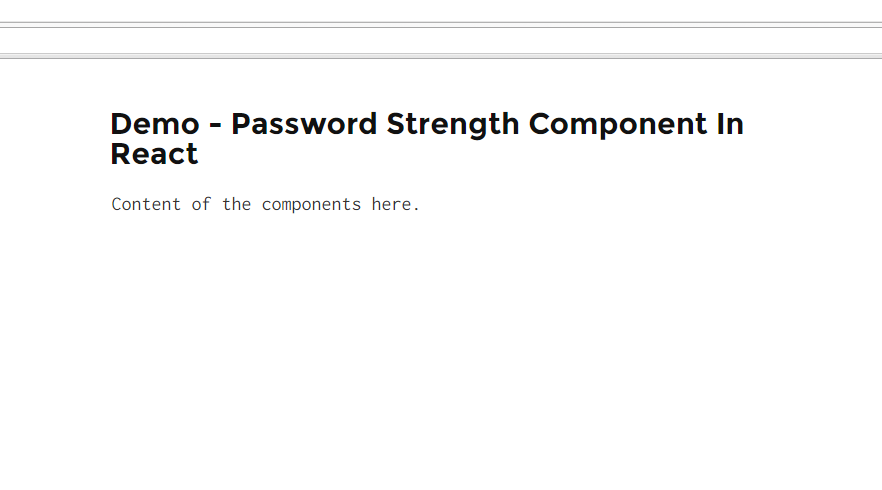
At this point, running the code will render on the browser like this:

As mentioned earlier, in React you build components of your web application. Looking at the AngularJs Directive version of the Password Strength, we have 4 components inside it.
- List - a list element that holds the description for password’s rules/criteria
- Meter - a div element that changes from red to green background
- Password - the text input
- Checkbox - toggles show/hide password text
Thus, we need to compose these 4 child components for our Password Strength.
//rules list component
class RulesList extends React.Component {
render() {
return (
<ul>
<li className={this.props.hasNumber}>
At least one number (0-9)
</li>
<li className={this.props.hasLetter}>
At least one letter (a-z)
</li>
<li className={this.props.isValidLength}>
At least 6 characters
</li>
<li className={this.props.noSpecialChar}>
No spaces, forward slashes (/) or double quote marks (")
</li>
</ul>
)
}
}
//rules meter component
class RulesMeter extends React.Component {
render() {
return (
<div>
<span>{this.props.title}</span>
<div className="meter-wrapper">
<div className={this.props.className} style=></div>
</div>
</div>
)
}
}
//password component
class Password extends React.Component {
render() {
return (
<span>
<label htmlFor="password">Create Password</label><br/>
<input
id="password"
type={this.props.type}
placeholder="Enter password...."
onChange={this.props.onChange}
/>
</span>
)
}
}
//checkbox component
class CheckBox extends React.Component {
render() {
return (
<label htmlFor="show-password">
<input
id="show-password"
name="show-password"
type="checkbox"
checked={this.props.showPassword}
onChange={this.props.onClick}
/>
Show Password
</label>
)
}
}
Based from above, we have 4 child components:
- RulesList
- RulesMeter
- Password
- CheckBox
The format for each components are the same with the parent component PasswordStrength. Each has a render function that returns its corresponding JSX format. Did you noticed those “this.props” values on the attributes? These are values passed down from the parent component. We’ll see next how these “this.props” values are passed down.
  class PasswordStrength extends React.Component {

        constructor() {
            super();
            //set default state
            this.state = { type: "password", checked: false };
        }

        onCheckBoxClick() {
            var isChecked = !this.state.checked;
            this.setState({
                checked: isChecked,
                type: (isChecked ? "text" : "password")
            });
        }

        render() {
            return (
                <div className="password-strength-widget">
                    <CheckBox showPassword={this.state.checked} onClick={this.onCheckBoxClick.bind(this)}/>
                </div>
            )
        }
 }
Going back to the PasswordStrength class ( parent component ), you see that we added a constructor function that sets the default states.
Notice onCheckBoxClick function updating the states when checkbox is clicked. The value of the state type is the one will be used to toggle the type attribute
of the Password component.
Inside the render function, you now see how we call our CheckBox child component.
The attributes and its corresponding values we assigned here will be available to the CheckBox component.
Remember the “this.props.showPassword” from the CheckBox
component before? Notice that onClick attribute is assigned a function.
We’re not limited to assign linear values on the attributes but functions too!
Updating PasswordStrength to hook-up the rest of the child components will look like this:
 //the parent component
class PasswordStrength extends React.Component {
    constructor() {
        super();
        this.state = {
                        type: 'password',
                        checked: false,
                        meterTitle: 'Invalid',
                        meterClass: 'danger',
                        meterWidth: 25,
                        rules: {
                            isValidLength: false,
                            hasNumber: false,
                            hasLetter: false,
                            noSpecialChar: true
                        }
                     };
    }

    onCheckBoxClick() {
        var isChecked = !this.state.checked;
        this.setState({
            checked: isChecked,
            type: (isChecked ? "text" : "password")
        });
    }

    onPasswordChange(e) {
        this.setState({
            rules: {
                hasNumber: e.target.value.match(/\d/) ? true : false,
                hasLetter: e.target.value.match(/[A-z]/) ? true : false,
                isValidLength: e.target.value.match(/^.{6,}$/) ? true : false,
                noSpecialChar: !e.target.value.match(/[ \/"]/) ? true : false
            }
        },function(){
            this.setMeterAttributes(this.state.rules);
        });
    }

    setMeterAttributes(rules){
       var meterWidth = this.getMeterWidth(rules);
       this.setState({
           meterWidth: meterWidth,
           meterTitle: (100 === meterWidth ? "Valid Password" : "Invalid Password"),
           meterClass: (100 > meterWidth ? "danger" : "")
       });
    }


    getMeterWidth (rules) {
        var property_count = 0, valid_property_count = 0, property;
        for (property in rules) {
            if (rules.hasOwnProperty(property)) {
                property_count = property_count + 1;
                if (rules[property]) {
                    valid_property_count = valid_property_count + 1;
                }
            }
        }
        return (valid_property_count / property_count) * 100;
    }

    getSingleRuleStatus(status) {
       if(status){
           return "valid";
       }
       return "invalid";
    }

    render() {
        return (
            <div className="password-strength-widget">
                <Password type={this.state.type} onChange={this.onPasswordChange.bind(this)}/>
                <CheckBox showPassword={this.state.checked} onClick={this.onCheckBoxClick.bind(this)}/>
                <br/><br/>
                <RulesMeter title={this.state.meterTitle} className={this.state.meterClass} meterWidth={this.state.meterWidth}/>
                <RulesList
                    isValidLength={this.getSingleRuleStatus(this.state.rules.isValidLength)}
                    hasNumber={this.getSingleRuleStatus(this.state.rules.hasNumber)}
                    hasLetter={this.getSingleRuleStatus(this.state.rules.hasLetter)}
                    noSpecialChar={this.getSingleRuleStatus(this.state.rules.noSpecialChar)}
                    />
            </div>
        )
    }
}
Based from above, PasswordStrength component controls all the child components through state and prop.
Check-out the demo or download source on Github.

